File Permissions affect the capability of users or group of users to Read, Write or Execute files. They define who or what can read , write or execute the files or directories.
Different files need different file permissions to do the work they are programmed to do.
The File Permissions can be easily changed by using FTP Clients such as FileZilla.
The steps to change File Permissions using FileZilla
Changing File Permissions using the Interface:
- Install and configure FileZilla, if you haven’t done it yet.
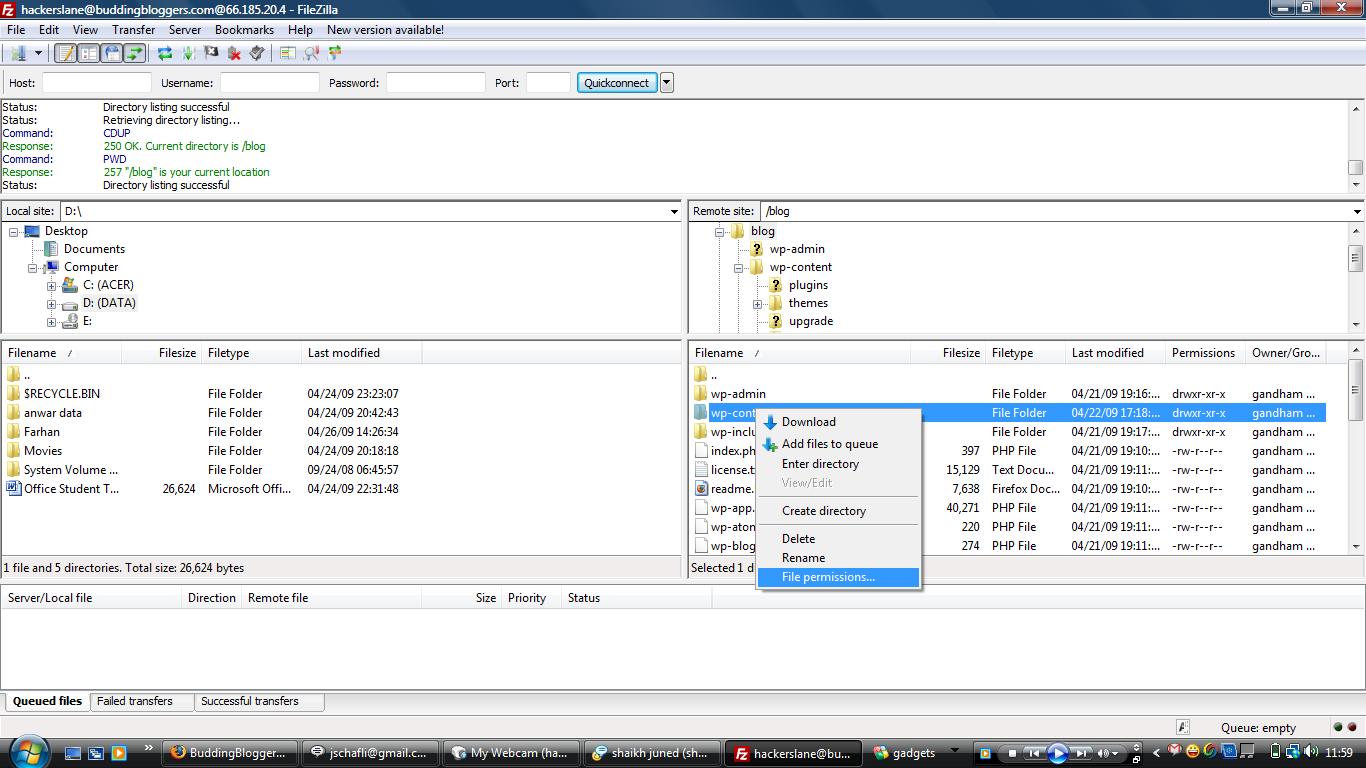
- Open FileZilla and browse to the directory/file, of which you want to change the File Permissions.
- Right-click on it and click on “File Permissions…”

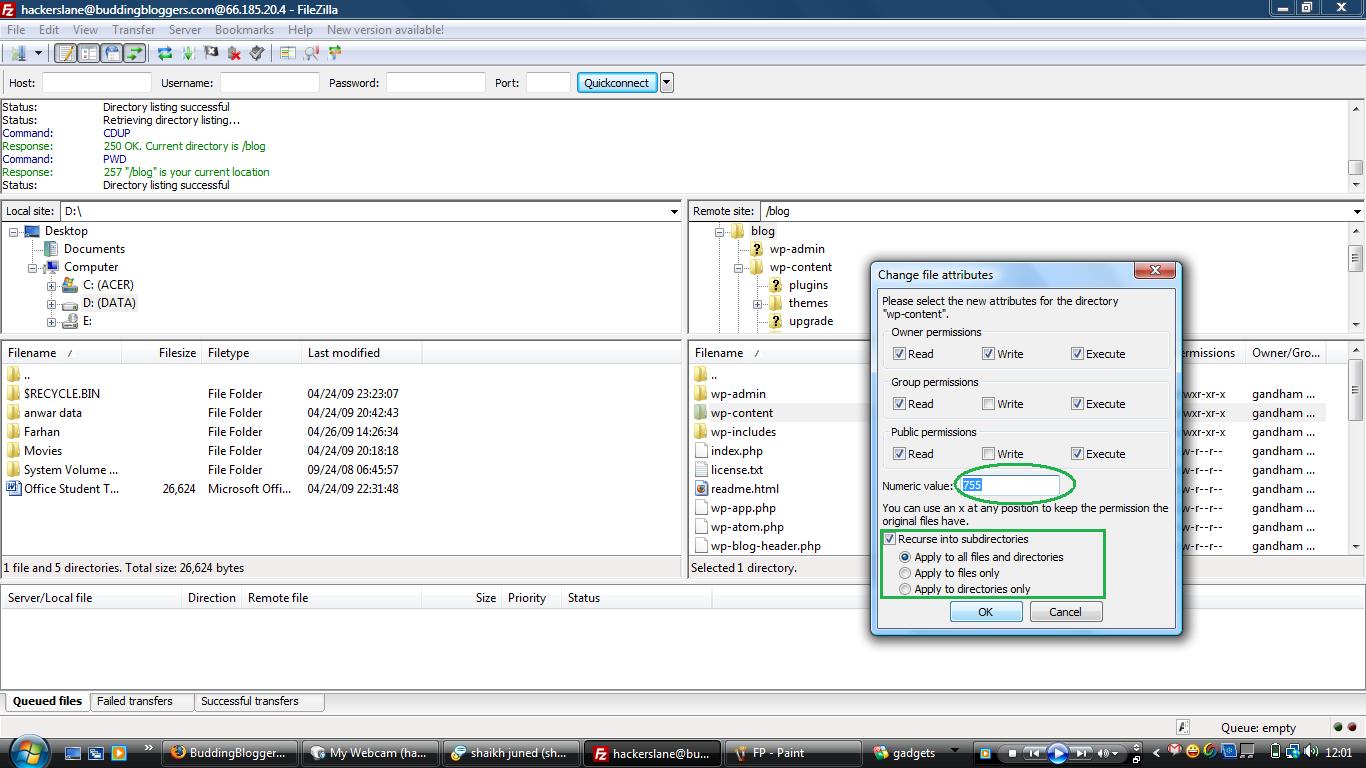
Selecting File Permissions - An interface would pop-up asking for the required File Permissions. Fill the box with the required File Permissions. If you are changing the File Permissions of a directory, choose the option “Recurse into Subdirectories“and then select the preferred sub-options.
Entering the Required File Permission - Then click “OK“. You can see the status of the process of changing File Permissions in the Status Bar on top.
Changing File Permissions using the Command Line:
Here, I’m just showing how to use the command line to change the FPs of a single file, there are some extra commands that are used to recurse FPs into subdirectories.
- Run FileZilla and connect to your server.
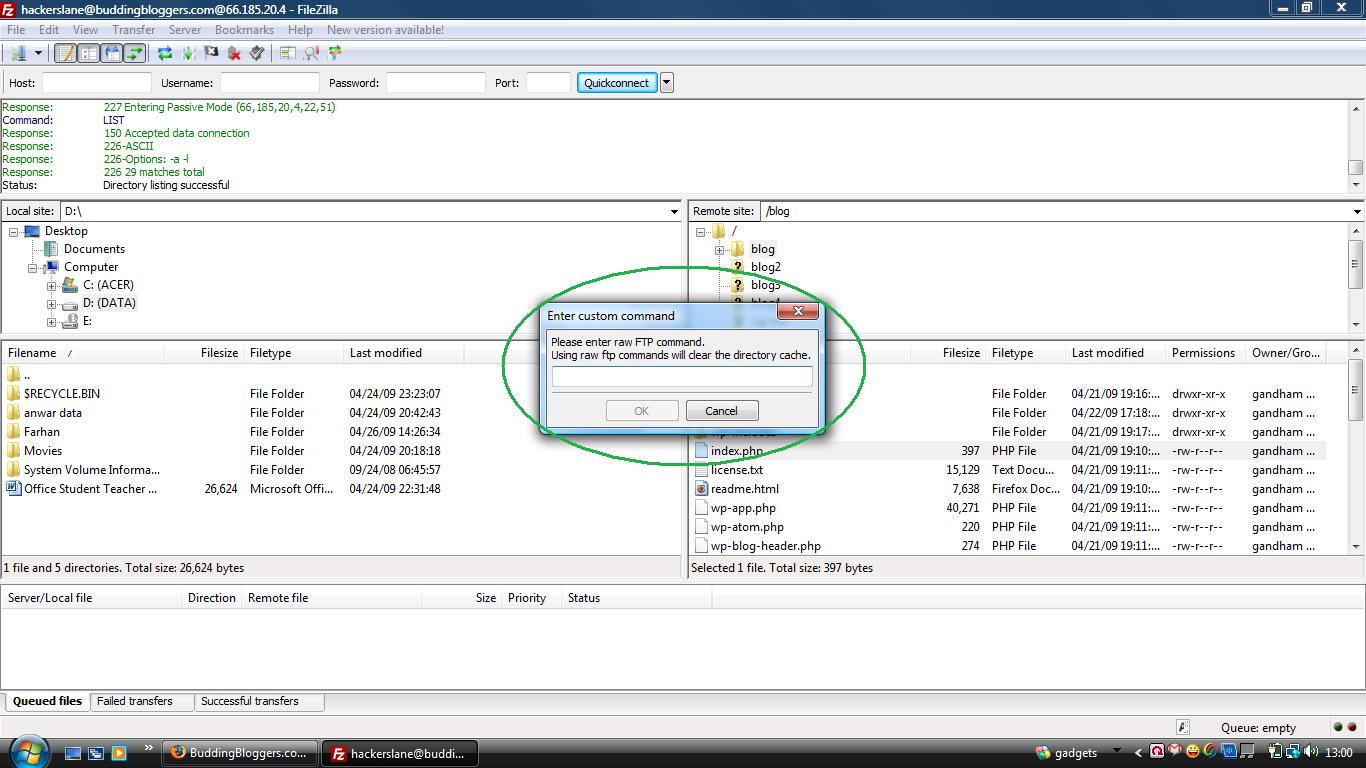
- In the Menubar, click on “Server” and choose “Enter Custom Command…“
- A dialogue box would pop-up asking for the FTP Command.
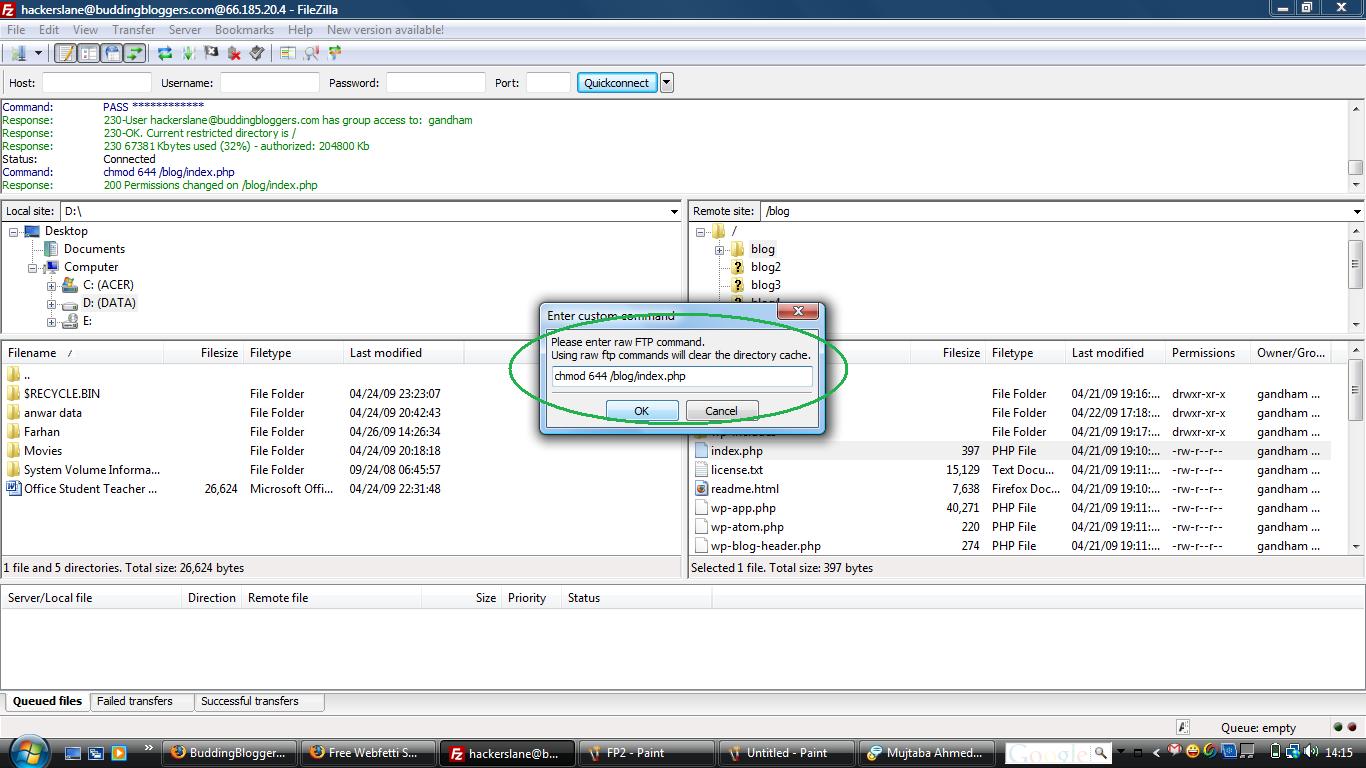
Command Line Dialogue Box - Enter this command:”chmod *** DIR“; where “***” is the numerical value of the required FPs and “DIR” is the location of the file to be modified. “chmod” stands for “Change Mode”

Changing File Permissions using Command Line - Click “OK” and you would get a message in the top Status bar informing that the command was a success.