FTP clients are softwares used for managing files on the server, using FTP (File Transfer Protocol). This is the most common method to uplaod files on to your webserver.
In this article, you’ll be learning to install, configure and use two of the pouplar FTP Clients
- FireFTP
- FileZilla
Lets start out with FireFTP…
FireFTP is the best free, secure and cross-platform integration for Firefox. It offers the best that a FTP Client can offer. ( Click here to see its features)
Installation
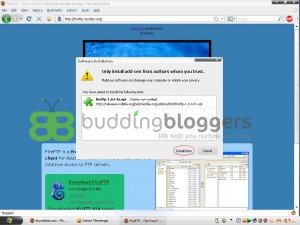
- Go Here and click “Download FireFTP”.
- A banner would appear on top asking to install it. Click “Allow”.
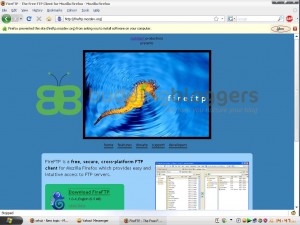
Step1: Downloading fireftp - After the installation, restart Firefox and check in the “Tools” in the menubar. There will be a new icon “FireFTP”. Click it and a new tab would open.
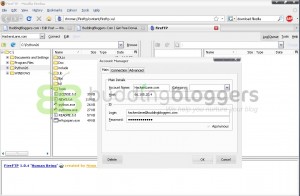
- In the “Account Manager”, fill up all the settings.
- In my case, the Account name is “HackersLane.com“; Host is 66.185.20.4; Login is hackerslane@buddingbloggers.com & password is ************![:)]
- Your FireFTP is ready to use now.
How to Transfer Files/Folders:
The left-column shows your PC and the right-column shows your Domain. Your blog would be installed in the “/blog/” directory by default.
To upload files:
- Right-click on the file to be uploaded and click “Upload” or else you can “Drag & Drop” the fileto be uploaded to the destination loacation.
- Make sure you are uploading things in correct directory. For example, the theme should go to Root:/blog/wp-content/themes/ and for plugins it should go to Root:/blog/wp-content/plugins/.
- The transfer status would appear in the bottom-column.
And for FileZilla…
FileZilla is one of the most popular FTP Clients. It is easy to use and very reliable.
Installation
- Download FileZilla (Click Here & choose your OS)
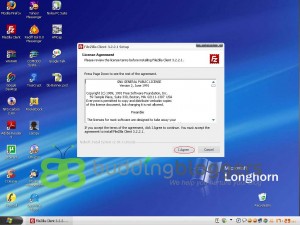
- Run the Setup file. Agree the license agreement.
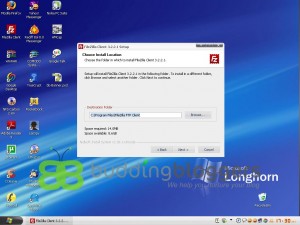
- Select your settings & select the installation folder.
- After the Setup is finished, Run FileZilla.
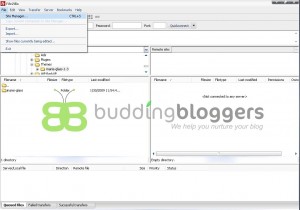
- On the Menubar, go to File\Site Manager.
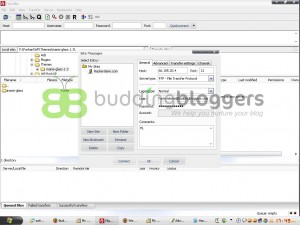
- Click on “New site” option on the left.
- Fill up the settings; the Host, port, User, Password,etc.
- Your FileZilla is ready to use…
How to Transfer Files/Folders:
The left-column shows your PC and the right-column shows your Domain. Your blog would be installed in the “/blog/” directory by default.
To upload files:
- Right-click on the file to be uploaded and click “Upload” or else you can “Drag & Drop” the fileto be uploaded to the destination loacation.
- Make sure you are uploading things in correct directory. For example, the theme should go to Root:/blog/wp-content/themes/ and for plugins it should go to Root:/blog/wp-content/plugins/.
- The transfer status would appear in the bottom-column, along with the Successful, Failed Transfers List…
